Gorgeous, Thriving Containers in 5 Steps
February 2024 | Native Edge Landscapes
Container plantings are an excellent way to enhance any landscape throughout the changing seasons. Here are 5 steps to follow when planting containers.
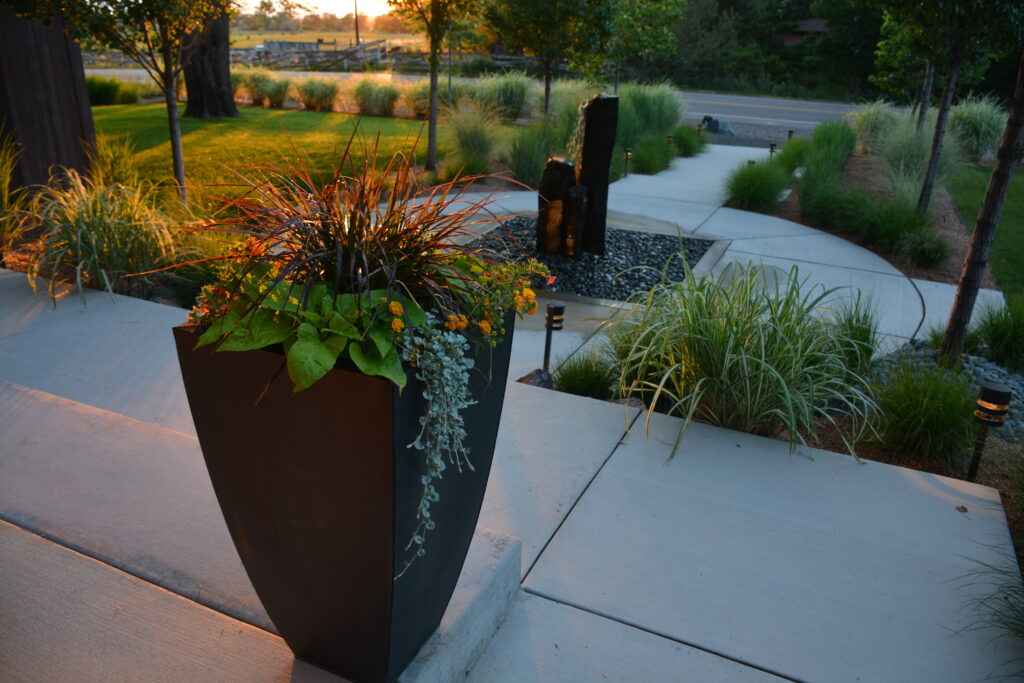
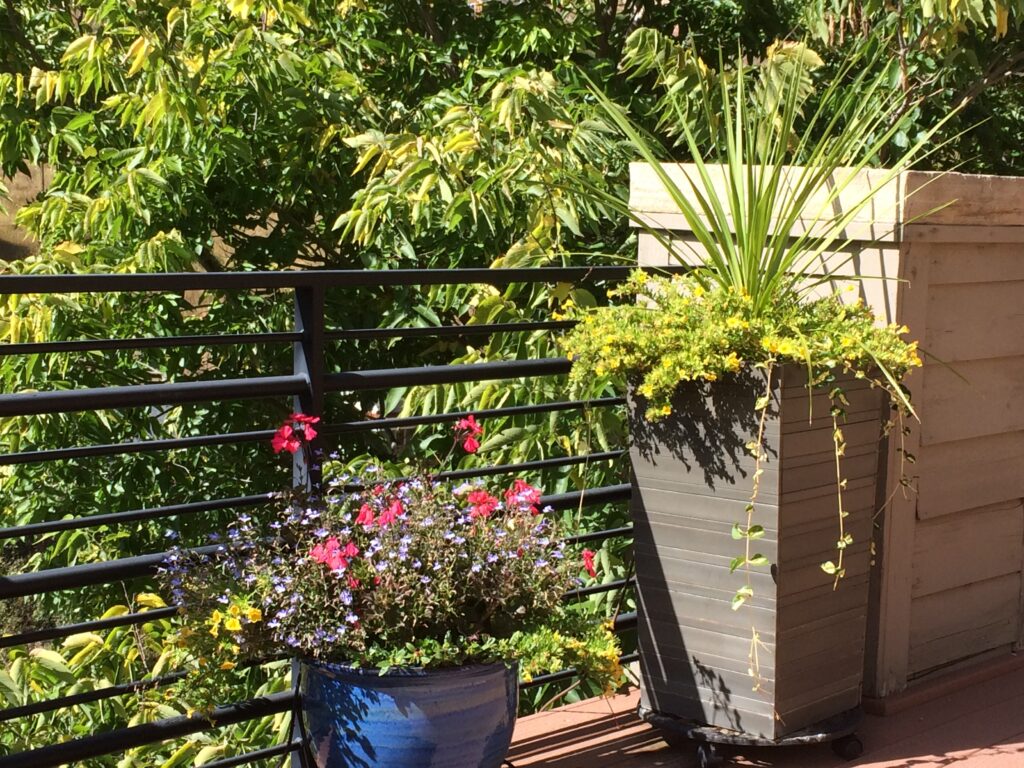
Step 1: Choose a container.
Glazed ceramic is typically best When it comes to choosing the right container. Metal containers are can also be good choices, but they do tend to attract and retain more heat and dryer soils as a result. Some plants don’t do well in hot and dry soil. When it comes to size, the bigger the better because of the amount of soil and water it can hold. But while soil and moisture retention is an important factor, so is drainage. So be sure there is a hole at the bottom of the container and keep this tidbit in mind… tall planters tend to drain faster that short planters.

Step 2: Hydrate your soil.
A basic potting soil will get the job done—no need for fancy “miracle” products, but they typically have high salt content and are hydrophobic . We recommend using warmer water if possible to wet it faster. That can be from a watering pitcher or the warm water that’s been sitting in the hose. Keep in mind it can take a good amount of watering before the soil will actually hold water. If you take a a handful of soil, squeeze it, and water drips out , this will be a tell tale sign that you have adequately hydrated your soil.

Step 3: Sunlight versus shade.
It’s best to choose plants with the “full sun” symbol on their tags if the container will be receiving six or more hours of direct sunlight. If less sun, go with part shade or full shade tolerant plants. Pay close attention and observe the sun patterns in your desired locations before selecting which plants you will go where. Just because you’re container is under a gazebo or awning does not mean that it won’t bet baked by a couple hours of afternoon sun. Eastern sun until 11am is great for anything… shade plants or sun-loving plants. The harshest sun is the middle of the day from about 12-4pm. Even if that is the only sun the plant gets, that is for sun and heat-loving plants only.
Step 4: Proper Watering
When it comes to watering, don’t be deceived by the how the top layer of soil might look. To ensure you are properly watering we recommend the simple finger test. Place your finger into the soil 1-2 inches deep. Is the soil warm and wet, slightly moist, or dry? If it’s wet, don’t water that day. If it’s moist, water half what you think you should. And if it’s dry, water it twice.
Step 5: Nourish
Applying an organic foliar fertilizer is a excellent way for annuals to absorb important nutrients and thrive. Apply once per month in the morning or evening when the sun and heat are not directly on the leaves. As an alternative, you can use a balanced, slow-release granular fertilizer 10 days after planting and then two more times during the season (depending on the label).
To get more advice from a Native Edge professional, Get In Touch below!
Get In Touch
To schedule a consultation or request services please call 303-245-9166, send an email to information@nativeedgelandscapes.com or Get In Touch through our website. One of our Customer Care Representatives will be happy to help.